Apple revealed macOS Sierra public beta on 11 July for everyone to try out and contribute. If you are going to install the macOS Sierra public beta on your primary device, then make sure you have created the full backup of your data. Since it’s a beta version, expect the macOS Sierra to have some bugs which might be harmful to your system. Here is the guide for you to install macOS Sierra on you Mac.
Get you MacBook ready:
While installing this much bigger update on your MacBook, you must be sure that your precious data is safe. You need to backup your data using any app from App Store. Time Machine is a good app to do that, install Time Machine app on your MacBook. Run the app, select the Backup disk and turn it on. Time Machine will backup all the data from your MacBook to that drive you selected. You need to connect a USB hard drive to your MacBook, or you can do it wirelessly using AirPort Extreme.
Steps to download macOS Sierra Public Beta:
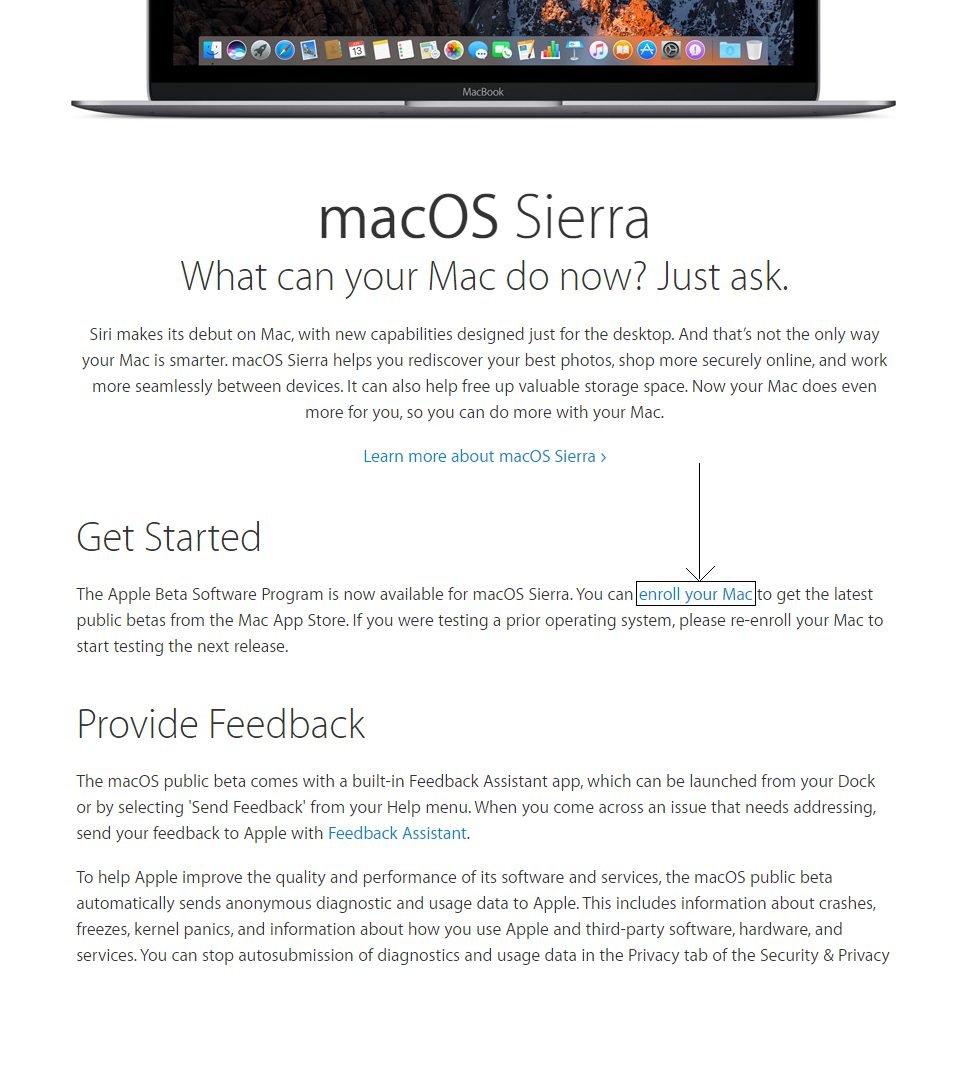
- Open Safari on your Mac and navigate to the Apple Bata program site and enroll your Mac.

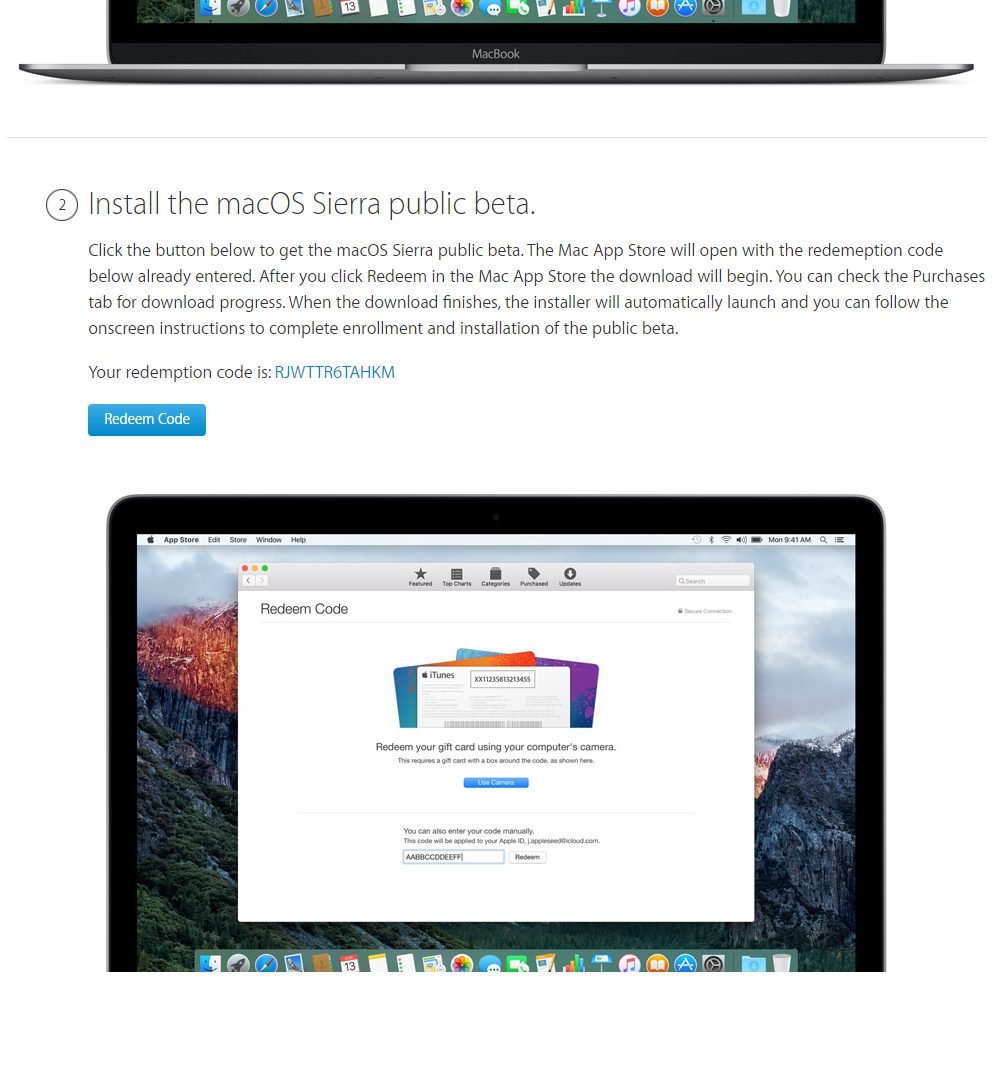
- Click Redeem Code to launch the Mac App Store.

- Click Redeem to begin the download. You can see the download progress in Purchases tab.
4. Installer will launch once the download finishes.
Steps to install macOS Sierra Public Beta
While installing macOS Sierra Public Beta, your Mac will reboot once. If you want to install macOS Sierra Public Beta on external disk, follow the instructions below:
- Connect the external drive to your MacBook.
- Open the install macOS Sierra Public Preview file in the Applications folder and click Continue.
- Click Agree and then Show all disks.
- Highlight the external hard drive where you want to install.
- Enter admin password.
Now to run Sierra on start up, open System Preferences > Startup Disk. Select the drive where the macOS Sierra is installed. You can also hold down the Option key while startup and pick the drive where macOS Sierra is installed.


